Swift Server Push Notification 配置


获取证书
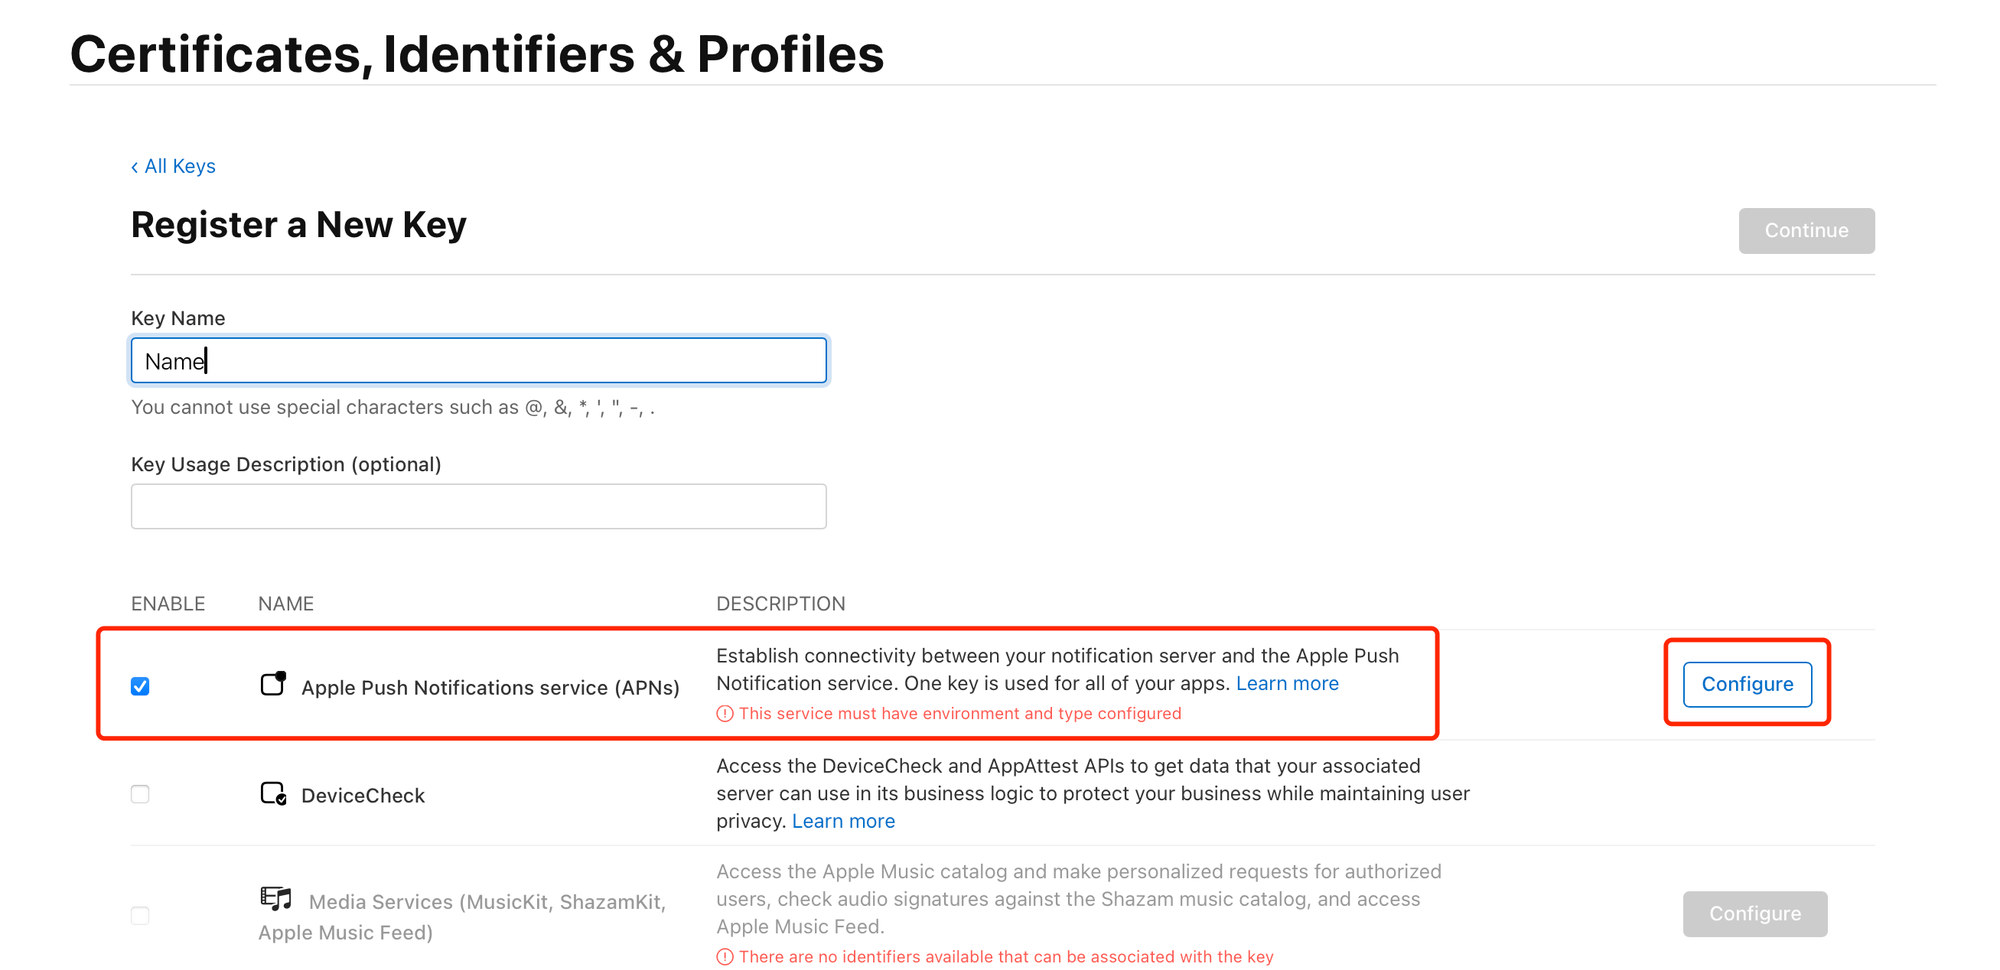
在 Apple Developer 开发者账号 Certificates, Identifiers & Profiles 里选择 Keys。新增一个 key, configure 里选择 Sandbox & Production。下载该 p8 证书,并且保存好(只能下载一次)。
终端 cd 到证书所在路径,输入下面指令。
openssl pkcs8 -nocrypt -in AuthKey_XXXXXXXXX.p8 -out ~/Downloads/key.pem

cat key.pem
得到 PRIVATE KEY 字符串,复制好。
服务端配置
服务端有多种技术栈方案,包括 Java、NodeJS、Swift、Python 等。这里采用 Swift Server 方案。
Swift Server 整体使用 Vapor 框架,具体实现可以参考官方文档。对于 Apple Push Notification 的实现使用 APNSwift 模块。
APNSwift 初始化需要配置推送证书等信息。
static let deviceToken = ""
static let appBundleID = ""
static let privateKey = """
"""
static let keyIdentifier = ""
static let teamIdentifier = ""

let client = APNSClient(
    configuration: .init(
        authenticationMethod: .jwt(
            privateKey: try .init(pemRepresentation: privateKey),
            keyIdentifier: keyIdentifier,
            teamIdentifier: teamIdentifier
        ),
        environment: .development
    ),
    eventLoopGroupProvider: .createNew,
    responseDecoder: JSONDecoder(),
    requestEncoder: JSONEncoder()
)

// Shutdown the client when done
try await client.shutdown()- privateKey 就是上面
cat key.pem得到的 PRIVATE KEY 字符串,包含-----BEGIN PRIVATE KEY-----和-----END PRIVATE KEY-----。 - teamIdentifier 是 Apple Developer 的团队 id。
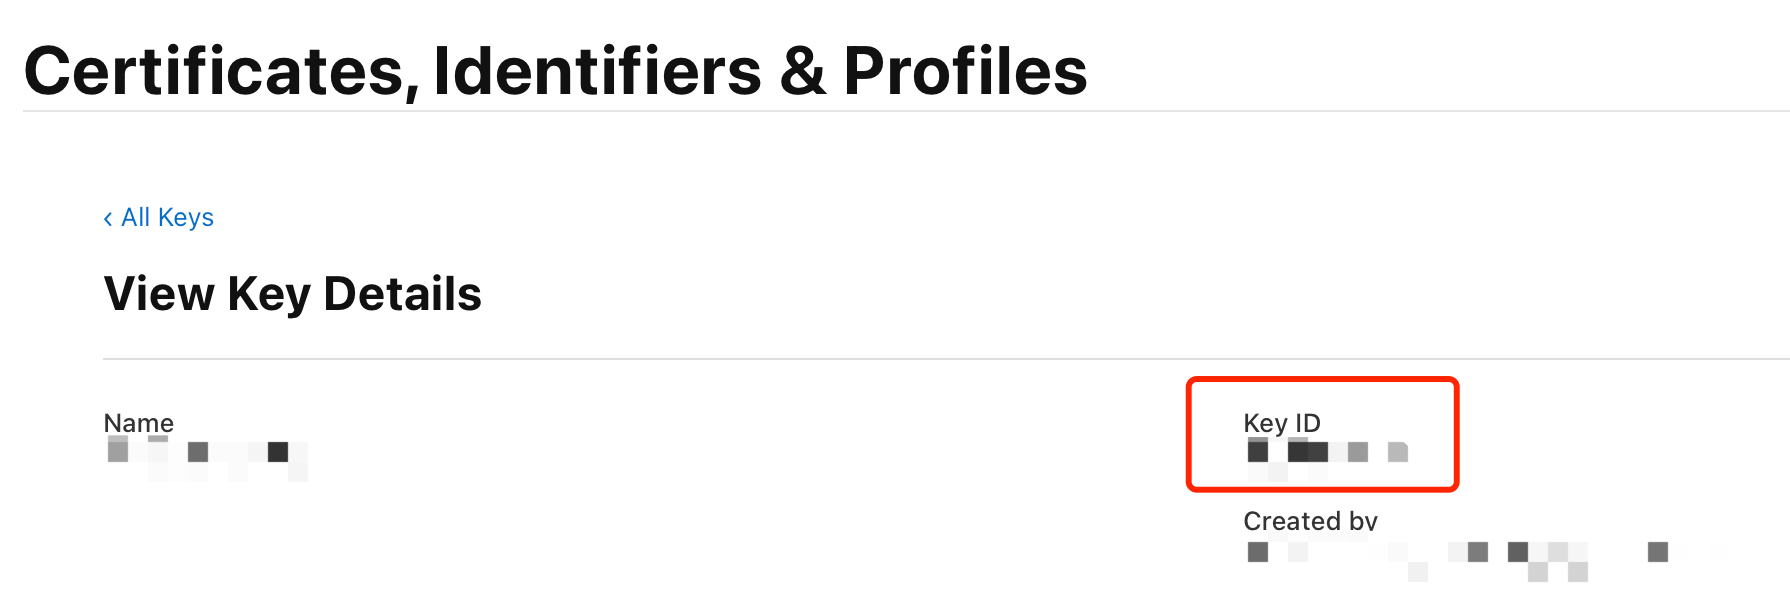
- keyIdentifier 是上面在 Apple Developer 生成推送 p8 证书时,Key 对应的 KEY ID。
- deviceToken 是移动端 iOS app 生成的 push device token。
客户端配置
iOS 项目需要设置 Push Notification 的 Capability。
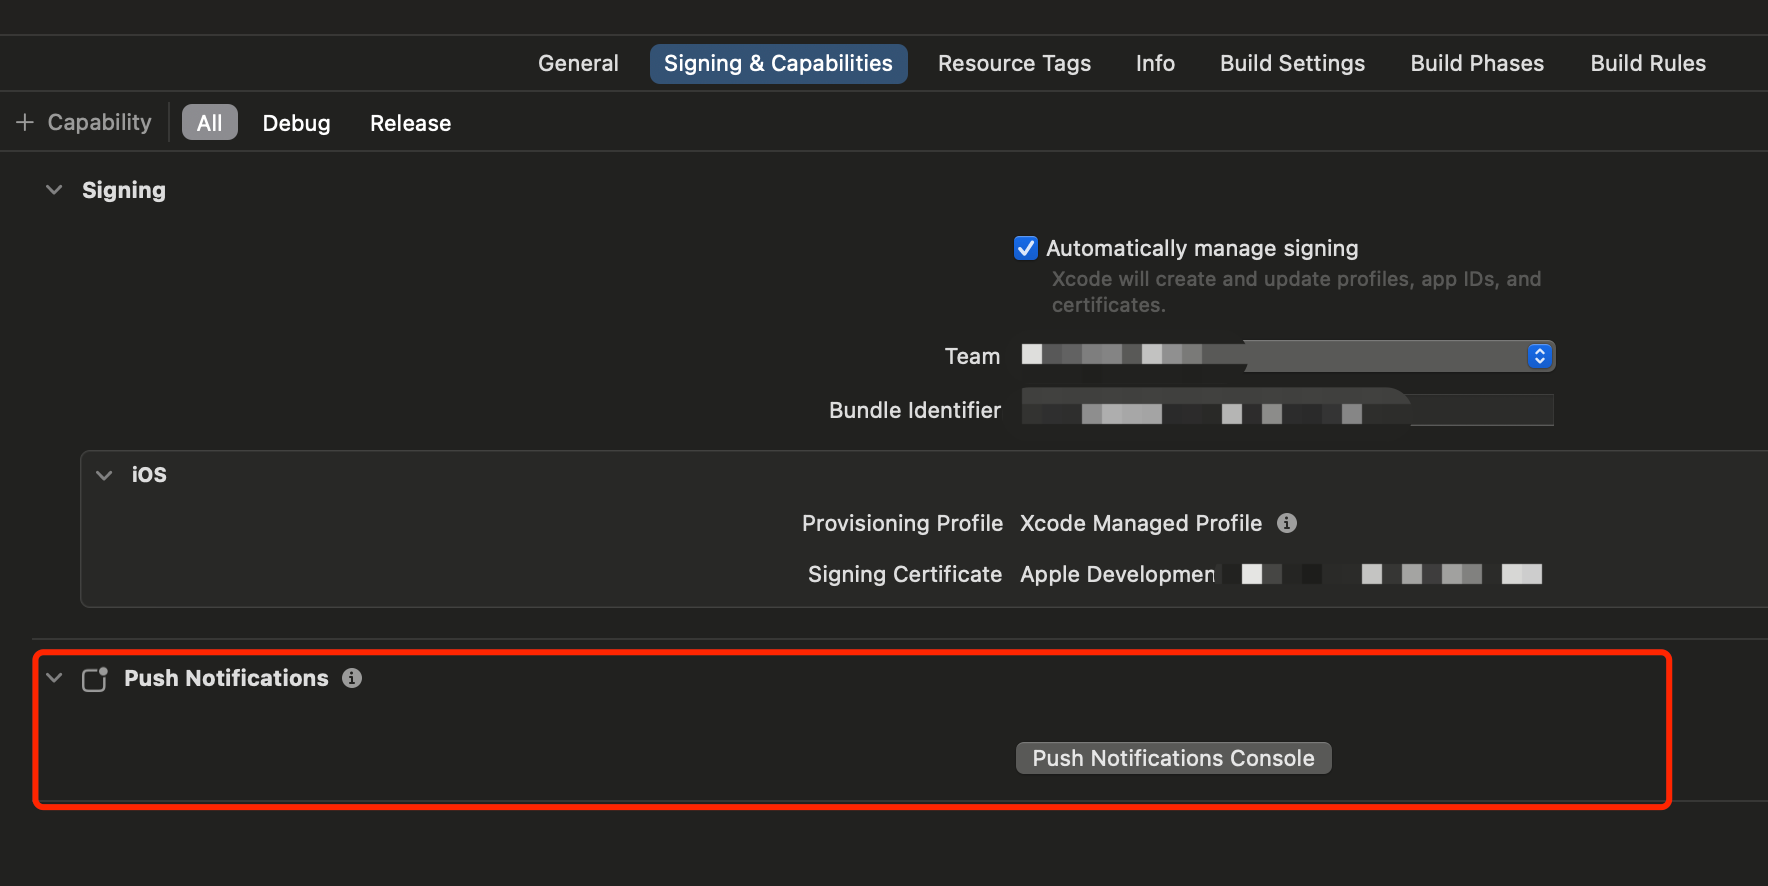
然后在 app 启动后获取通知权限,这样才能拿到 push device token。
import UIKit

final class AppDelegate: UIResponder, UIApplicationDelegate {

    func application(_ application: UIApplication, didFinishLaunchingWithOptions launchOptions: [UIApplication.LaunchOptionsKey: Any]?) -> Bool {
        // 请求推送通知权限
        UNUserNotificationCenter.current().requestAuthorization(options: [.alert, .badge, .sound]) { (granted, error) in
            if granted {
                // 注册 APNs
                DispatchQueue.main.async {
                    application.registerForRemoteNotifications()
                }
            } else {
                print("User denied push notifications")
            }
        }
        return true
    }

    // 处理推送通知注册成功后的设备 token
    func application(_ application: UIApplication, didRegisterForRemoteNotificationsWithDeviceToken deviceToken: Data) {
        print("Device Token: \(deviceToken)")
        let deviceTokenString = deviceToken.map { String(format: "%02.2hhx", $0) }.joined()
        print("Device Token String: \(deviceTokenString)")
        // 将 deviceToken 发送到你的服务器
    }

    // 处理推送通知注册失败
    func application(_ application: UIApplication, didFailToRegisterForRemoteNotificationsWithError error: Error) {
        print("Failed to register for remote notifications: \(error)")
    }
}
拿到 deviceToken 后,将其发送给服务器存储。服务器发送推送时,需要指定 deviceToken 才能知道是对哪一台手机发送推送。
尝试发送简单推送
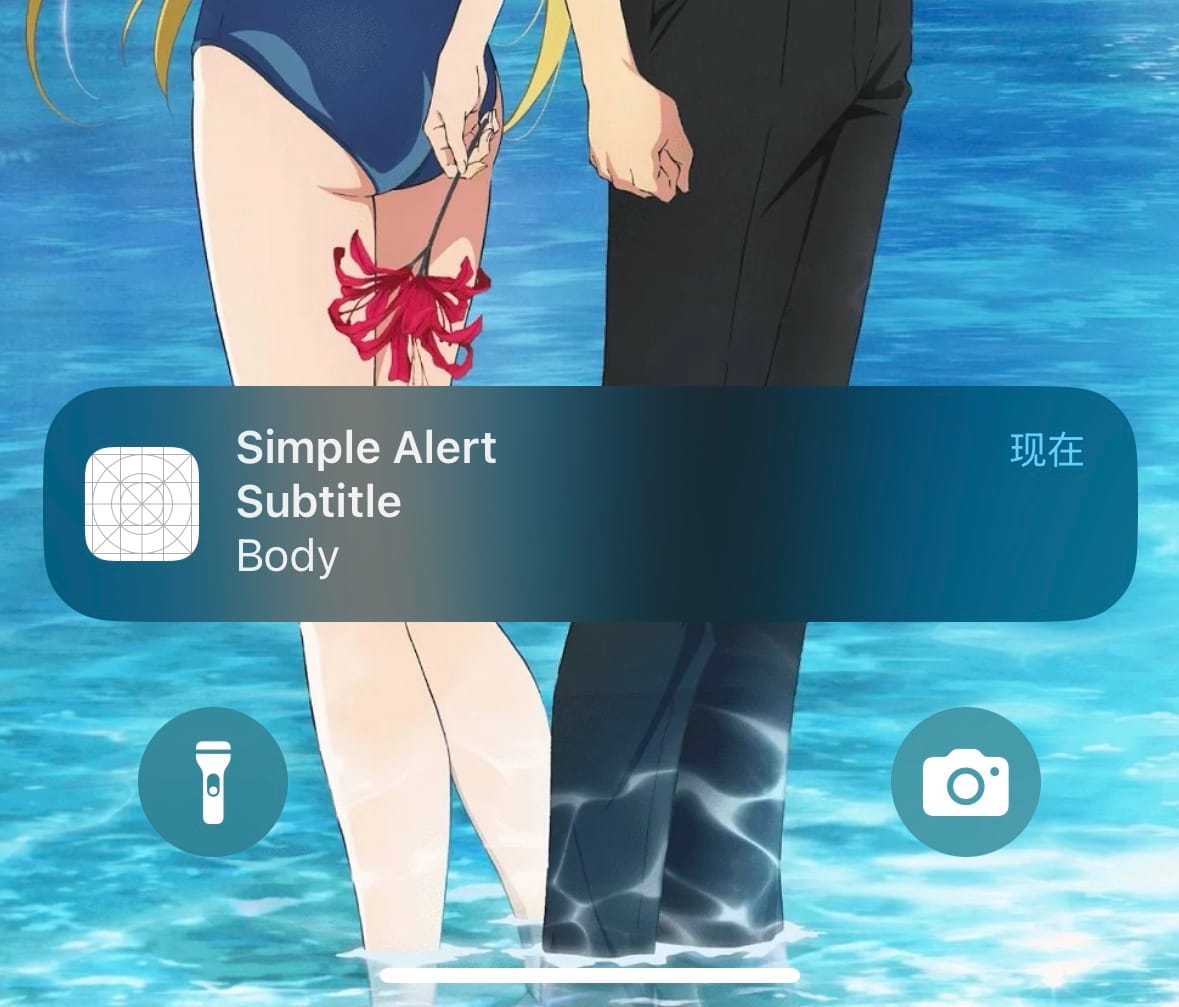
Server 调用下面方法,传入初始化的 APNSClient 实例。不出意外的话,手机就能收到推送了。
func sendSimpleAlert(with client: some APNSClientProtocol) async throws {
    try await client.sendAlertNotification(
        .init(
            alert: .init(
                title: .raw("Simple Alert"),
                subtitle: .raw("Subtitle"),
                body: .raw("Body"),
                launchImage: nil
            ),
            expiration: .immediately,
            priority: .immediately,
            topic: self.appBundleID,
            payload: EmptyPayload()
        ),
        deviceToken: self.deviceToken
    )
}